In my years of coaching, I’ve seen thousands upon thousands of deadlift reps. I watch as someone goes through the effort of setting up correctly for the deadlift, following the 5 step deadlift setup. Their feet and grip right are in the right place, barbell is over the midfoot and knees and arms are in contact. So far so good. Two more steps to go.
The next (fourth) step is the most uncomfortable and hardest part of the setup. Apart the from most common issue of hips dropping when the lifter extends their back, there are two errors I’ve observed that occur on these last two steps that make a lifter screw up their pull off the floor – rushing the pull and breathing at the wrong place.
You’ve done the hard work to get into the right position. So don’t undo it by messing up at the last second.
Recall the 5 step deadlift setup
Just a quick reminder of the Starting Strength 5 step deadlift setup:
Step 1: Take a hip width stance with your shins 2.5 cm from the bar.
Step 2: Bend at the waist and take a grip on the bar just outside of your feet. Do not move the bar.
Step 3: Bend your knees to bring your shins to the bar. Once the shins touch the bar, stop. Knees out till they contacts your elbows. Do not move the bar.
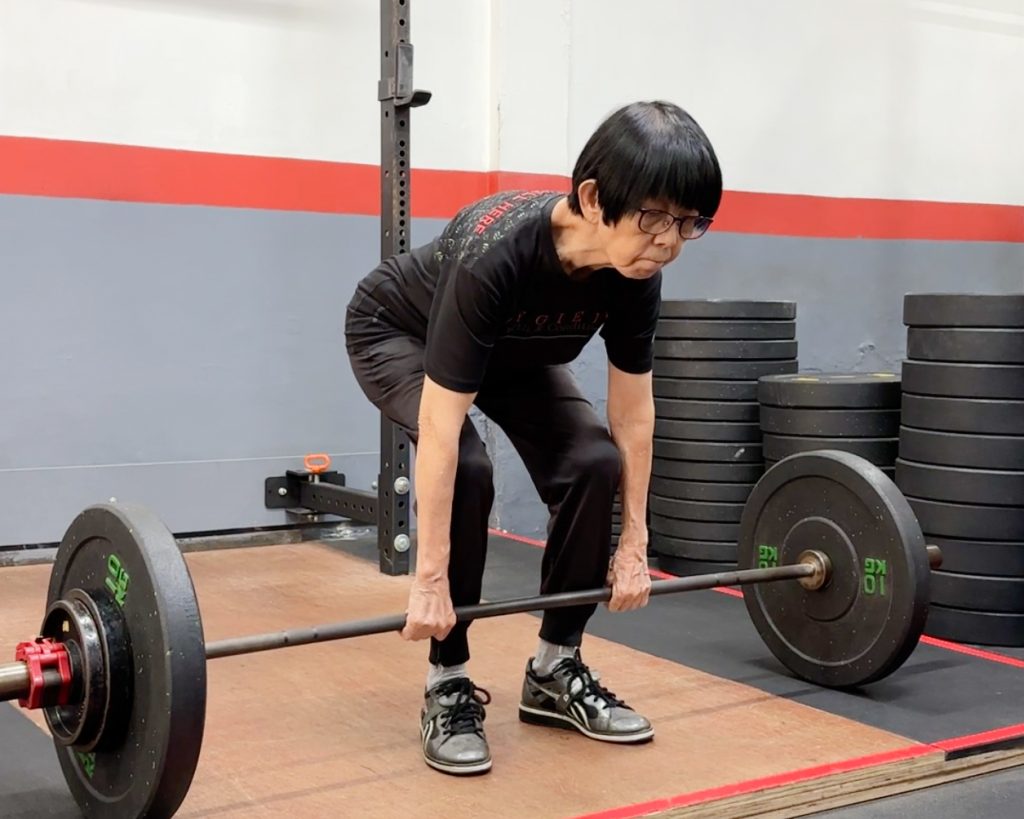
Step 4: Squeeze your chest up. Remember to keep your hips at the same height and maintain a tight and extended back. This is the deadlift start position.
Step 5: Drag the bar up your legs.
If you need something more visual, check out this classic video from Starting Strength that teaches you how to deadlift.
We keep referring to these five steps because they’re a short and simple way to get you into your correct pulling position.
For the purposes of this article, let’s discuss a little more about the final two steps. The 5 step deadlift setup is as simple as it gets to get someone into their correct pulling position but as they say, the devil is in the details.
When to breathe in to stay in the right position
Step 4 of setup is where you take your breath, and there are two places where you should take your breath before starting the pull.
One is breathing in while simultaneously setting (extending) your back. Or, taking your breath first, then setting your back.
Setting your back first, then taking your breath is not recommended. I’ve noticed that when a lifter inhales after their back is already set, there is a tendency for the back to flex as they take their breath, which will undo step 4. The lifter, who unknowingly have relaxed their back, will go on ahead to pull on the bar. Occasionally, I see a lifter take their breath, set their back, then take another breath. Also not a good idea.
So either take your breath as you set your back, or before you set your back. Once you’ve taken your air in, hold it all the way through, maintaining your valsalva, until the bar is back down to the floor. Once it’s back onto the floor, exhale and repeat.
Once you’ve figured out if you prefer to take your breath as or before you set your back, consistently take your breath there on every rep till it becomes second nature.
Pause before pulling to check your setup
After you’ve settled in the correct pulling position, take a little pause before starting the pull. It doesn’t have to be long – just half to one second is more than sufficient.
This little pause is to give you a bit of time to ascertain if everything is where it should be, before you pull the bar.
During that time, you can use these 3 quick reminders to check if you’re in optimal position:
Is your weight over the midfoot? Shift your weight till you feel equal pressure on your heel and the ball of your foot.
Are your knees and arms in contact? Specifically, your knees should touch in a way that they cover half your arm. If your knees are “behind” your arms, it means your hips too high; if they’re too “forward”, your hips are too low.
Is the bar in contact with your shins? Or did it get away from you in the descent of the previous rep? If so, pull it back in.
Get familiar with how that setup feels so you’re able to feel if you are in the correct position during that short pause. Watch this video for more details, as it takes you through the positions mentioned above and how to recognise them on your own.
Do I really need to pause before I pull on every single rep?
Preferably, yes. Lifters might do their few reps perfectly. But as the set progresses, form creep may occur as they start to get fatigued. When that happens, lifters tend to rush to get the last few reps over and done with – they’ll meld Step 3 (bring shins to the bar) and Step 4 (squeeze the chest) together and immediately start to pull on the bar.
Two problems may occur.
First, they may start the pull before the back is being fully extended, resulting in less efficient force transmission on the back segment.
Second, the momentum of lowering the hips and bringing the knees forward may continue, so the hips drop lower than they should. The shins then go forward and kick forward. This then usually goes either one of two ways.
Either the lifter will try to “squat” the bar up or start the pull with bar anterior of the midfoot. In both situations, the barbell being forward of the midfoot introduces an unnecessary moment arm between the midfoot and barbell, which will then require additional force to overcome this horizontal force. All this makes the rep harder than it needs to be.
As crappy as it may feel, resist the urge to rush. Maintain a constant cadence and strive to make every rep the same. Efficient technique is your friend. After you’ve spent all that effort to get into your pulling position, don’t undo it by rushing.
Adding a little pause between Step 4 and Step 5 gives you a bit of time to focus on your position before the pull, reducing the likelihood of messing up your setup and ensuring your pulls are as efficient as it can be.